Breaking Ground: How We Prepped Our Patio for a Backyard Makeover

Watch our project on Instagram! Patio highlight
If our backyard journey had a chapter titled “Sweat Equity,” this could be it.
Over the past several weeks, we've been transforming our once-overgrown, forgotten yard into something intentional—a peaceful, functional outdoor space where we can gather, rest, and reconnect. We’re far from finished, but this latest phase was a major milestone: preparing the base for our future patio.
Spoiler: it involved a lot of digging. Like, a lot. We thought we were over the dirt phase after our hot tub installation (nope).
Step One: Digging


The area we planned for our patio spans just over 1,000 square feet. To ensure our pavers would sit flush and stable, we needed to excavate approximately 5 inches of soil across the entire footprint. This depth allows space for a solid gravel base (typically 4") and a layer of sand (1"), which together provide a level, well-drained foundation for pavers. As we revealed in our first post, the drainage issues were becoming a real issue.
Tip for DIYers: Use marking spray or stakes and string to outline your patio area before digging. This gives you a clean boundary and helps visualize the space. A flat shovel and a wheelbarrow will be your best friends here!
One thing we hadn’t totally planned for? Where to put all the dirt. (Pro tip: always factor this in before you start digging!) After offering it to literally everyone we could, we did not find any takers. With no immediate use for it, we decided to move it to the far side of the yard, which hopefully resolves some of our really uneven spots.
While excavating, we also took the opportunity to install drainage piping—an added layer of assurance to help manage water flow and address a few problem spots where runoff has historically been an issue.


While the guys focused on finishing the dirt removal and installing our French drains, I got to work pulling up the old patio bricks, and my mom jumped in to help relocate them. We hadn’t mapped out a plan for brick disposal just yet, so for now, we're storing them on-site until we finalize the design for our future outdoor kitchen and stair area—they may just get a second life in those projects.
As we removed the bricks, we uncovered chunks of old polymeric sand still clinging to the base. Instead of tossing them, we ground them down and repurposed them in our first layer of gravel. The texture was surprisingly similar, and it made for a practical way to reduce waste and make use of what we had on hand.
Beneath that section of patio was an existing concrete slab. Knowing that DIY removal would be a major undertaking (and likely beyond our weekend-warrior skillset), we made the decision to clean it up and work with it. With a little creativity, it’s going to blend seamlessly into the new design.

Step Two: Compacting the Soil


After the digging marathon, it was time to compact the soil—a crucial step to prevent settling and uneven pavers down the road. We rented a plate compactor, a vibrating machine that tamps down loose soil and gravel, and ran it over the entire dug-out area. We also compacted the relocated dirt on the other side of the yard to keep things neat and stable over there, too.
Step Three: Building the Gravel Base


With the dirt compacted, we moved on to laying our gravel foundation. Gravel offers excellent drainage and prevents moisture from pooling beneath the pavers (which can lead to cracking or shifting over time).
We had gravel delivered in bulk and laid it down one inch at a time, using the plate compactor between each layer to create a firm, even base. For our project, that meant four separate layers of gravel—slow work, but incredibly satisfying to watch the space take shape.
Gravel Pro Tip: Use angular gravel (often called 57 or crushed stone) rather than round pea gravel. Angular edges lock together better and provide more stability.
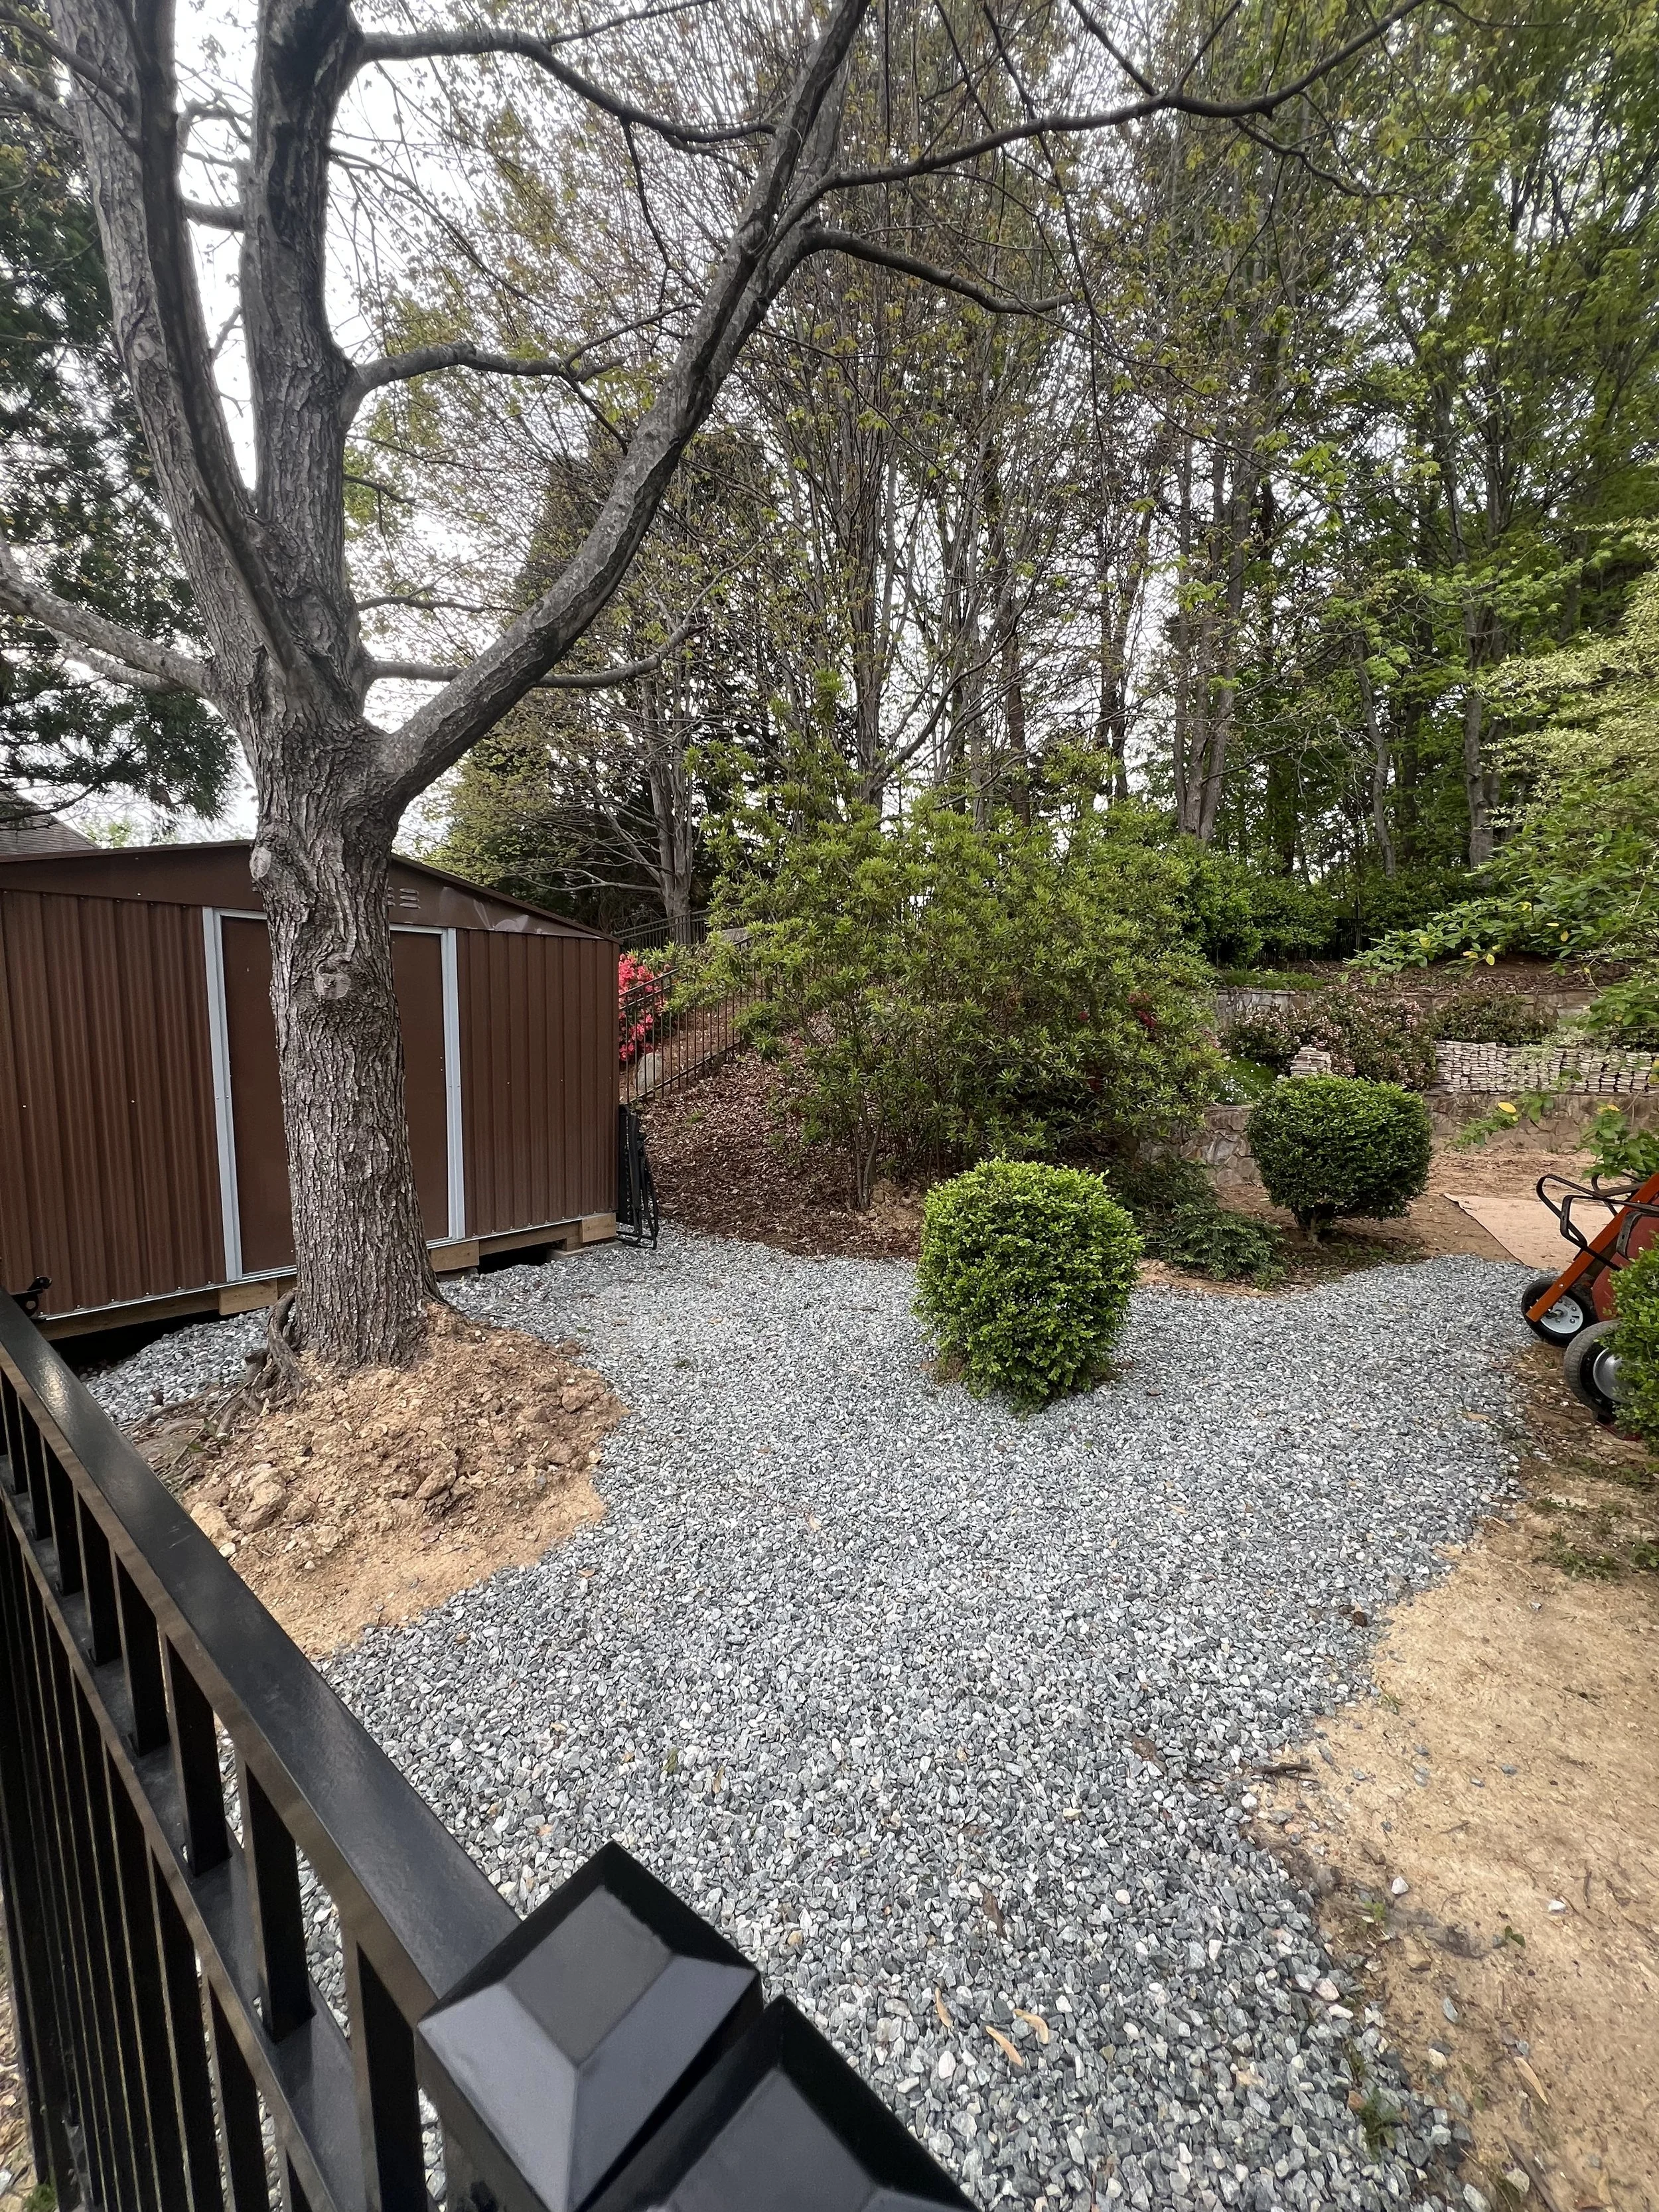
We had a little extra gravel, so we laid it down by our shed since it get very messy over there! One day we will add a cute walkway; but this works for now!


The Plot Twist
Originally, we had our eyes (and hearts) set on gray pavers from Lowe’s. But in true DIY fashion, we hit a small snag—our order was unexpectedly out of stock with no restock date. Thankfully, the Lowe’s Pro team helped us pivot quickly, offering us options and helping us reorder in a new color. The updated pavers are set to arrive this weekend, and while it wasn’t what we initially envisioned, I’m secretly excited. Sometimes the best design choices happen through a bit of serendipity.


Now We Wait (and Dream)
With the ground prepped and the base set, this in-between moment feels a bit surreal. After weeks of hard labor, we’re hitting pause while we wait for materials. It's a welcome breather—and it’s also giving me time to dream up a few other additions. Outdoor string lighting? Built-in benches? A firepit corner? Maybe even a mini herb garden? We're thrilled to be collaborating with Yardzen’s design team to bring our vision for the outdoor space to life. While we're still in the midst of the editing process, I couldn't resist sharing a little sneak peek with you all!
This is the beauty of a DIY project: the process is as personal as the final product. We’ve shaped this space—literally—from the ground up. And while the next steps are still unfolding, the foundation has been laid. Both physically and creatively.
Stay tuned. The patio may not be done yet, but the transformation is well underway.


Follow us on Instagram to stay connected and see our daily updates!
📋 FREE DOWNLOAD: Patio Prep Checklist & Materials List
Want a step-by-step checklist to help guide your own patio project? I’ve put together a printable version of everything we did—perfect to keep on-hand while you work.
📥Subscribe to our newsletter below to download your FREE DIY Patio Prep Checklist!
Save this checklist to your Pinterest board or print it out and bring it to the hardware store!