Transforming Our Laundry Room: One Room Challenge Fall 2024
Over the next eight weeks, I’ll be transforming my laundry room from a cramped, cluttered space into a functional and stylish haven. If you’re ready to tackle your own space or just want to see ours, join me as we dive into the nitty-gritty of reorienting, renovating, and revitalizing! Head to our Instagram to see daily updates and more BTS!
Week 1: The Vision
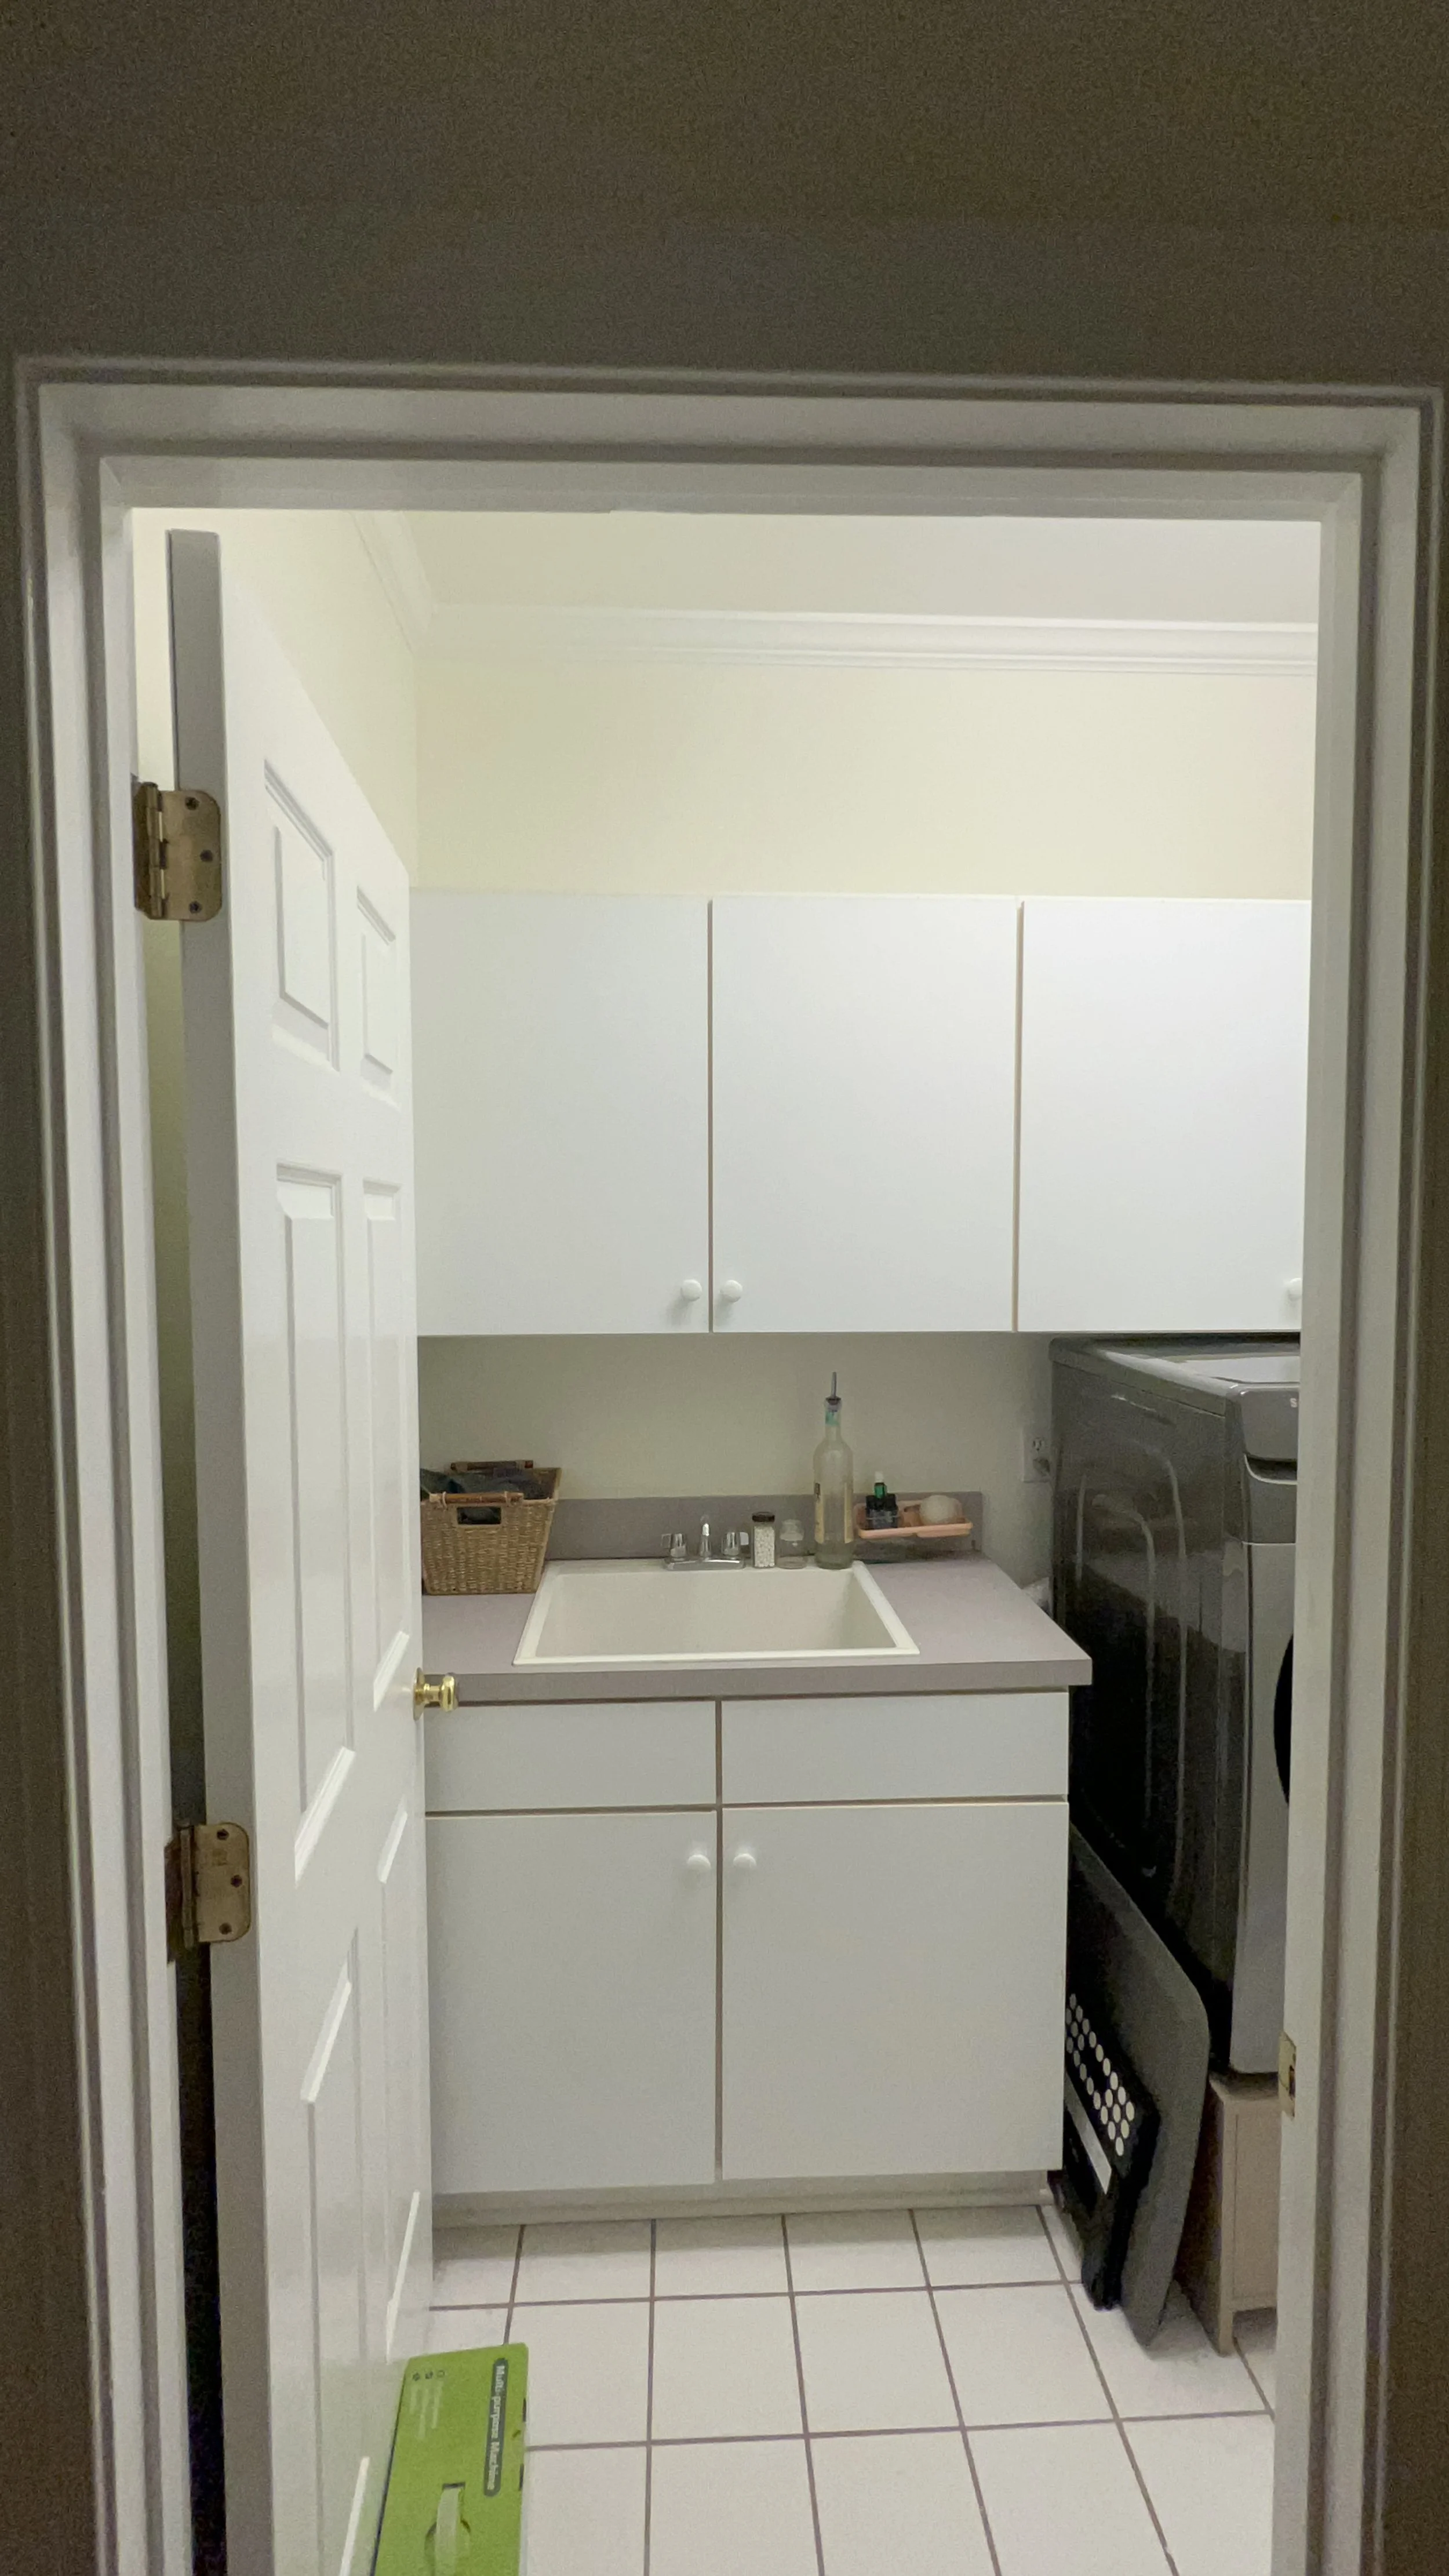
Let’s start with a little background. We moved in May to a new house! While there are a lot of spaces that we plan to reinvent; the laundry room has always been a sore spot for us. It’s cramped, poorly organized, and, to top it off, the sink has a leak that’s been a constant source of frustration. Every time we do laundry, I get frustrated; as I cannot fit between the washer and wall holding a laundry basket. My goal is to create a space that’s not only practical but also inviting. I envision a cozy room with appropriate storage and a functional layout that makes laundry day feel a little less daunting.
Week 2: The Plan
First things first: we need to reorient the washer and dryer. Currently, everything in the room is against one wall, making it hard to access them and move around. By repositioning them, I’ll create a more open and accessible layout. This also opens up space for a new utility sink—one that actually functions without leaks!
Next up is storage. While the cabinets provided a space to hold a lot of items (out of sight so it didn’t have to be neat), I could not reach them to utilize them. I’ll be installing new shelves to maximize vertical space, providing plenty of room for detergent, fabric softeners, and other laundry essentials that are all within reach.
Week 3: Color and Inspiration
Time to choose a color scheme! After scrolling through Pinterest and browsing through paint samples, I’ve settled on a dark calming blue that will compliment the appliances and create a soothing atmosphere. Paired with wooden shelving and fixtures, this color will help make the space feel cozier and more inviting.
Week 4: Demolition and Prep
With my plan in place, it’s time to get to work. The first step: removing the old sink and taking out the outdated shelving. This is always the messiest part, but it’s also where the transformation begins! I’m preparing the walls for a fresh coat of paint, patching up any holes and cleaning the surfaces to ensure the new paint goes on smoothly.
Week 5: Reorienting the Appliances
This week is all about repositioning the washer and dryer. After some heavy lifting and creative maneuvering, we can place them into their new spots to do laundry with ease!
Week 6: Installing the Sink and Shelving
Next, tackling the new utility sink. We found a stylish option that fits perfectly into the space and, thankfully, doesn’t leak! With that installed, it will be time to hang the new shelves. I opted for open shelving to create an airy feel while providing easy access to everything I need. I can’t wait to style them with baskets and decorative storage containers! Just because it is a laundry room, doesn’t mean it needs to be ugly.
Week 7: Painting
With the functional aspects in place, it’s time to add some color! I spent the weekend painting the walls a beautiful, blue. It’s amazing how a fresh coat of paint can change the entire vibe of a room.
Week 8: Finishing Touches
We’re in the home stretch! Now comes the fun part: adding the finishing touches. I’m sourcing cute decor items like wall art, maybe a stylish rug, and some plants to bring life to the space. I’m also adding some organizational accessories.
What’s Next
You will have to just follow us along to see what we make of it!!
Learn more about other ORC creators here!


